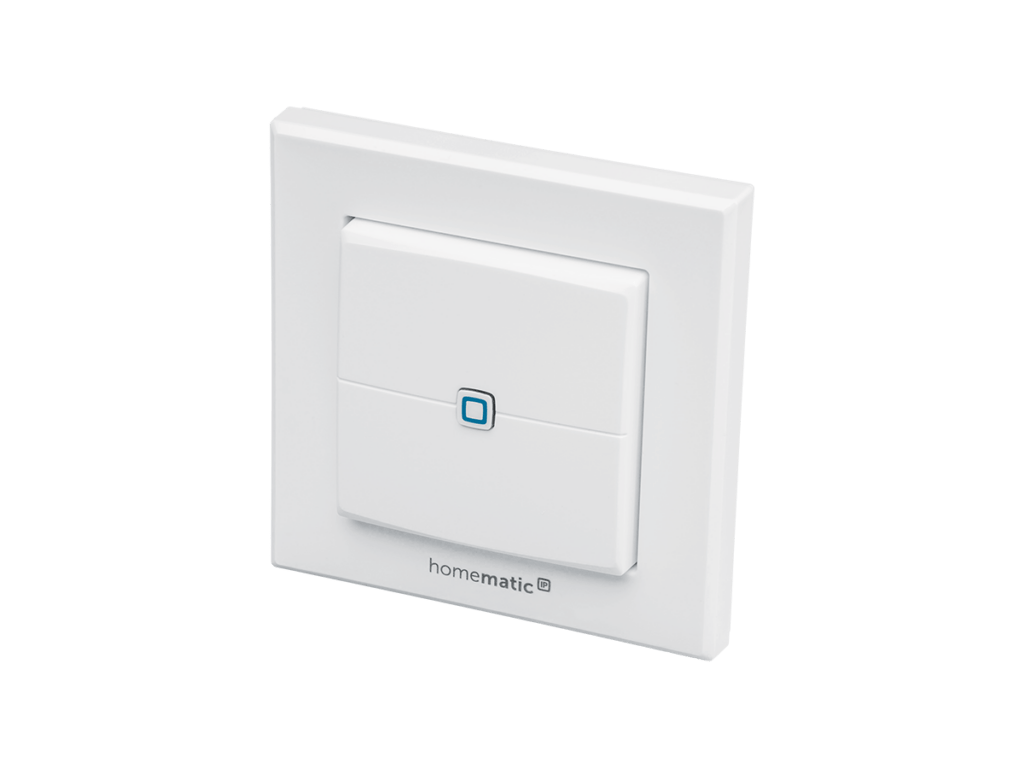
I bought the wall switch from Homatic IP (HmIP-WRC2) because I want to switch a lamp with it, in this post I describe the setup.
A prerequisite for the setup is a successfully installed Homatic IP CCU and the Homatic IP integration. I describe both here: Homatic IP setup .
Bevore the two switches can be used, the device, like all Homatic IP devices, must first be trained on the CCU.
After that, a system state (system variable) must be created in the CCU for each channel that is to control something, and then a program in the CCU for each channel.
Let’s take a closer look.
First teach the device: button Teach device -> button Teach HmIP device, then set the new Homatic IP device to teach mode according to the operating instructions. The device then ends up in the inbox and after clicking on the button it can be configured.
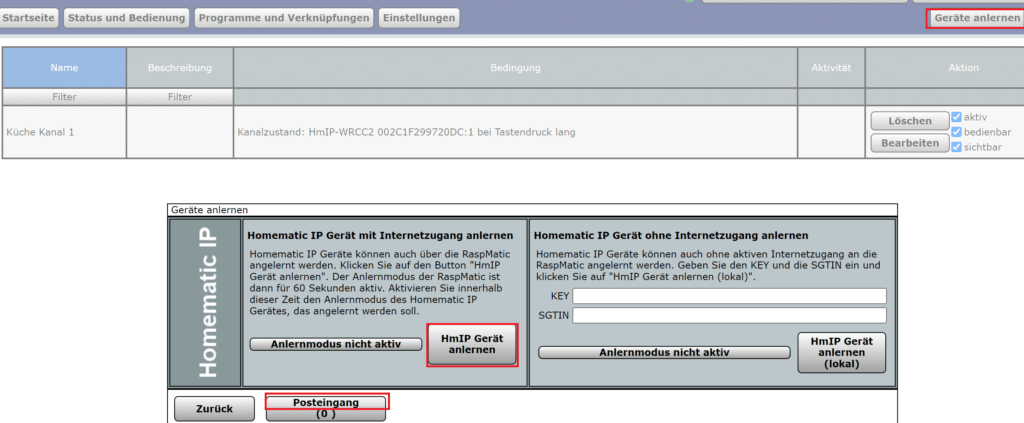
I left the device parameters at the default settings.
Then create the system variable in the CCU.
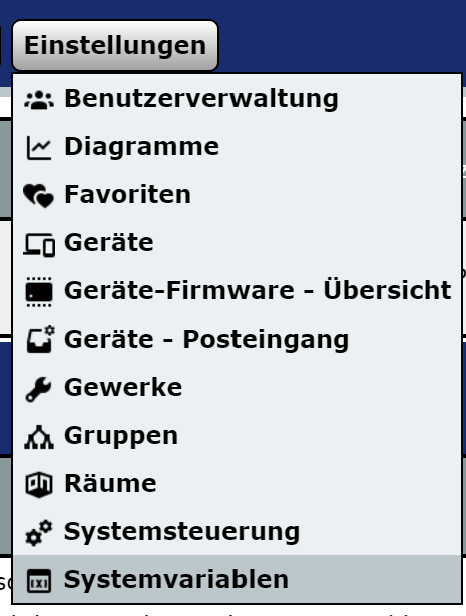
Create a logic value type variable for each channel and link it to the switch channel:

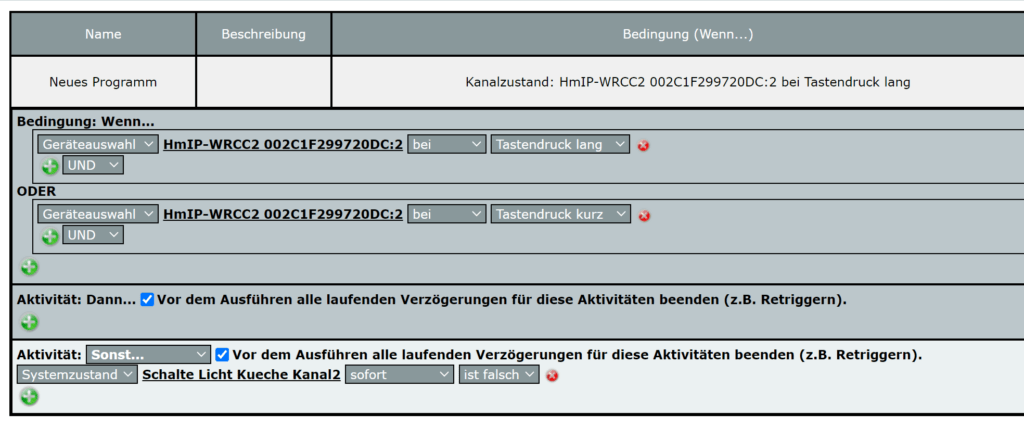
A program must now be created so that the variable changes depending on the operation of the switch.
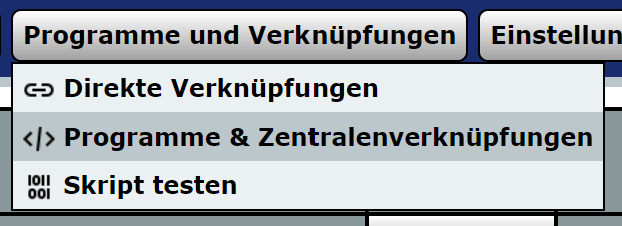
Here I use the short and long button press condition of the device to implement the previously created system variable.
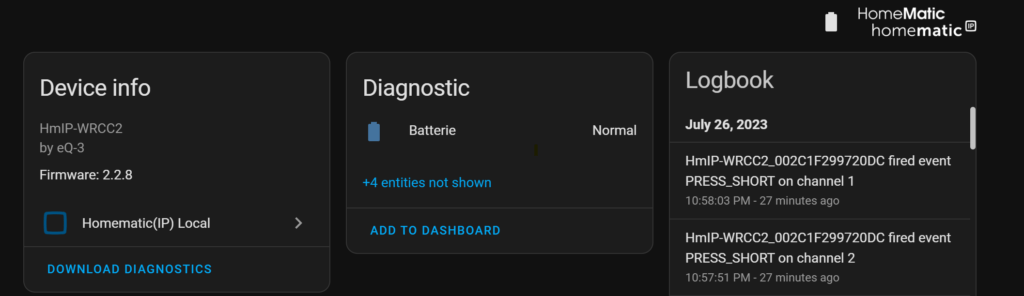
Now the switch can be set up in the Home Assistant.
To do this go into the integration and here we should see the button and when we select it also every key press in the logbook.
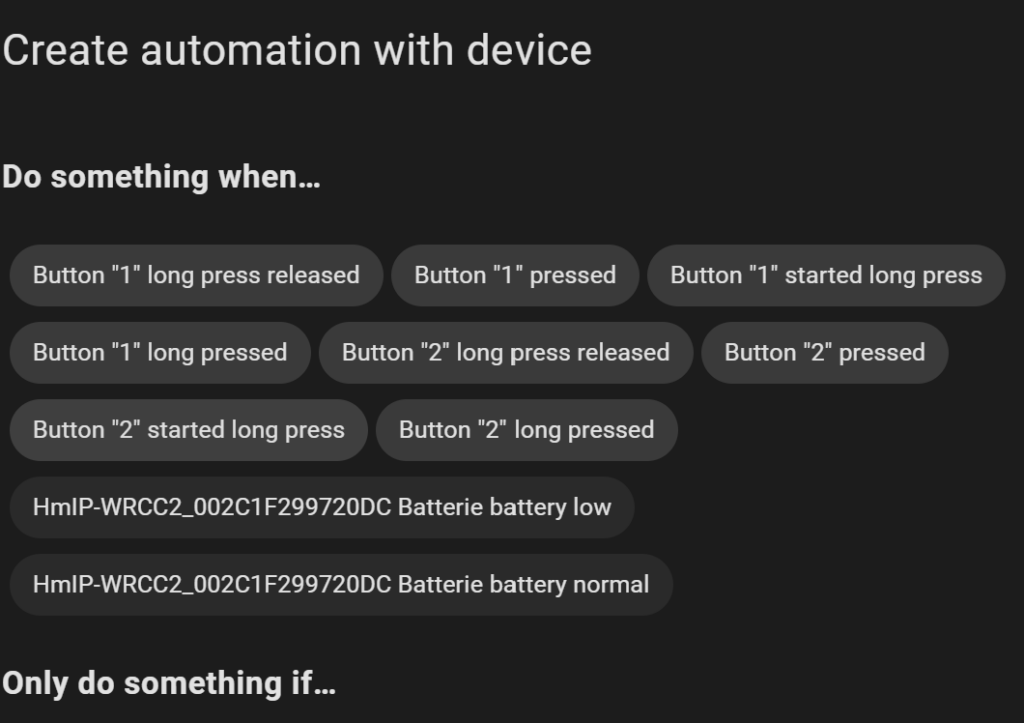
Automation can then be created directly here when the switch or channel is actuated.
Automation can then be created directly here when the switch or channel is actuated.
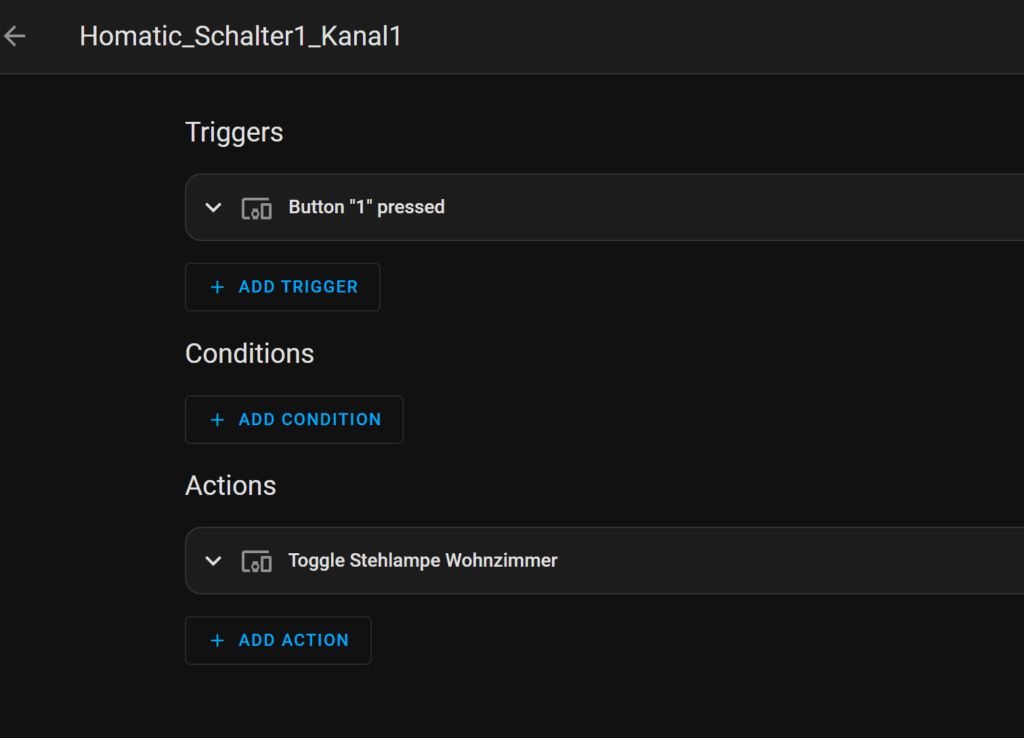
Done, now every push of a button on the button of channel 1 in the wall switch switches the floor lamp.